Sakai Tutorials
Add an image to your Home pageAdding an image to your home page can help build context for the course and reinforce your course's current topic. In order to keep your images organized, it is recommended that you create a folder in your Resource and upload your images there. Then you will link to that image on your home page. To learn more about creating a folder for your images, view 'Managing Your Content'. This guide is based on the images being uploaded into Resources, in a folder called "Images".
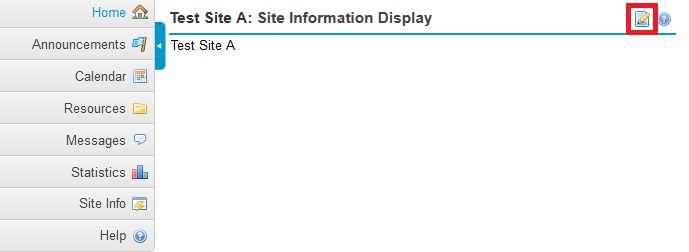
1. From your Home page, click the Edit button
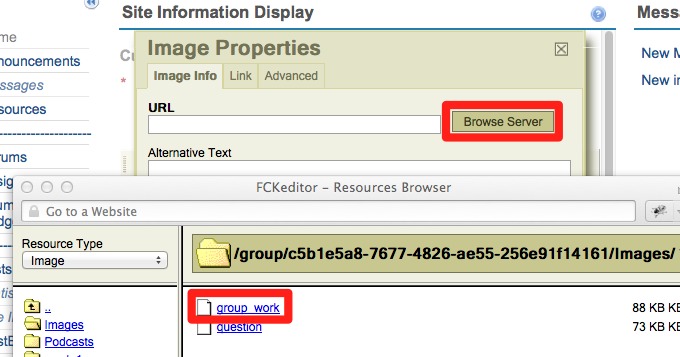
2. Click the Image button.
3. From the Image Properties dialog box, click on Browse Server.
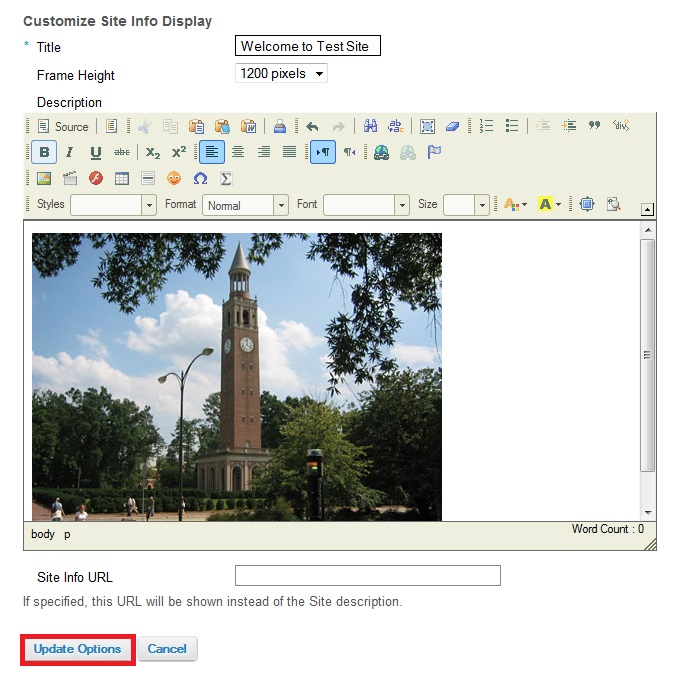
5. From the Image Properties dialog box you can resize the image and determine if you want the text to wrap around the image.
7. Click on Update Options after making edits for the Home page.
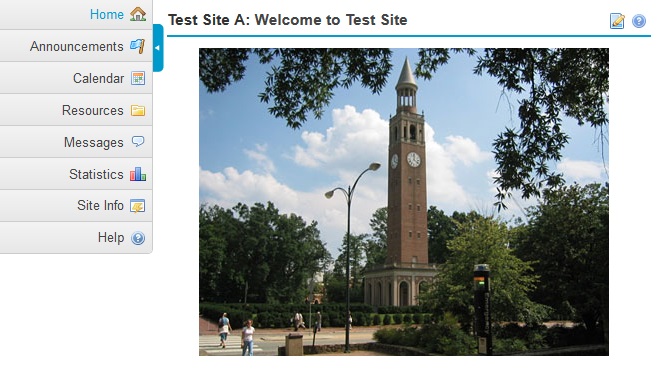
8. The course home page will be updated to reflect the changes you have made.
|

.jpg)
© 2024 The University of North Carolina at Chapel Hill Sakai Tutorials by University of North Carolina at Chapel Hill is licensed under a Creative Commons Attribution-Non Commercial-Share Alike 3.0 Unported License. |